beauty

ROADTEST: 'I tried a DIY henna brow kit at home. Here's what happened.'

I’ve never had my brows done by a professional. Growing up in the nineties, I was bombarded by images of women with tadpole brows (I’m looking at you, Gwen, Drew and Tyra), aunties with brow tattoos that turned a fun shade of blueish-green and heard stories about visits to the salon where the brow tints always came out way too red. 

So basically I had it in my head from a young age that if you left your brows in the hands of someone else, there was a chance they might screw them up. Great! No thank you. 

Watch: How to achieve the perfect brows. Post continues below.


Video via Mamamia

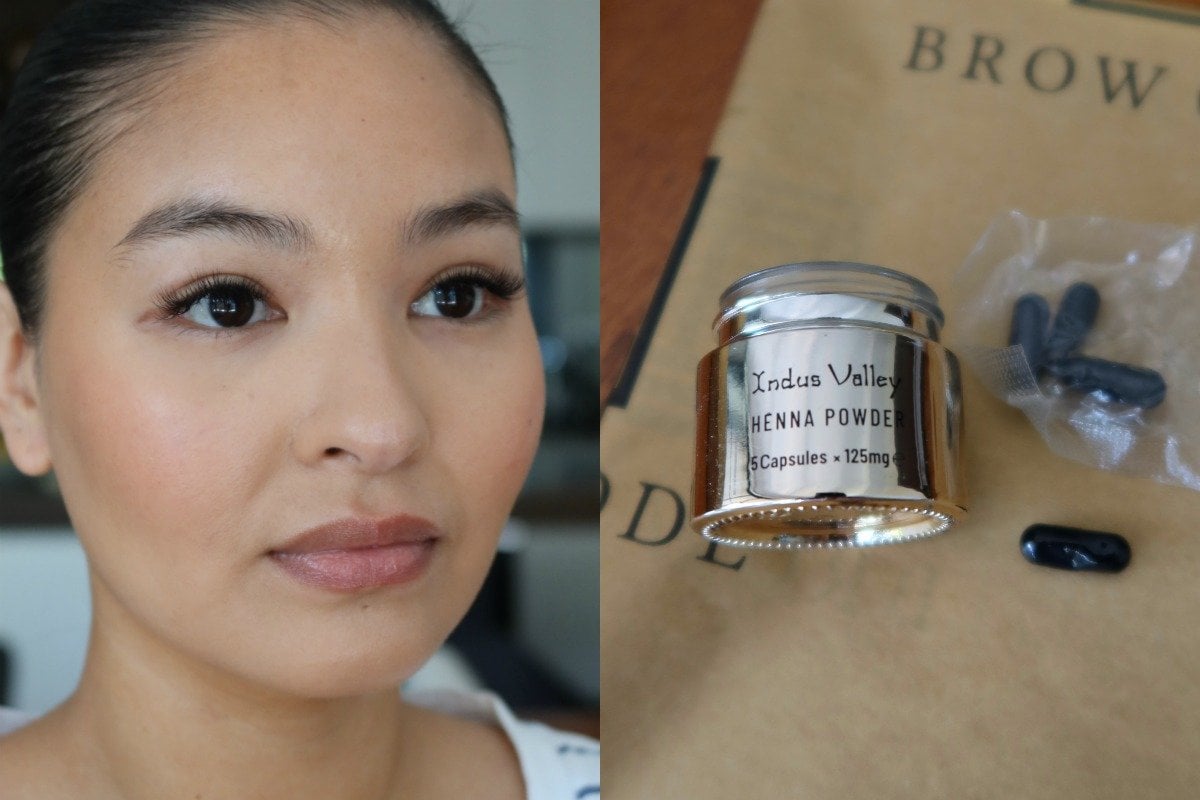
Fast forward to 2020. I’ve been a makeup artist for over a decade and in complete charge of how my brows look, but I’ve also run the gamut of testing ALL the products for longevity and colour pay-off - because while I don’t wear makeup everyday, I do want my brows to look a little more done. Like, just a touch more colour and I’d be happy. 

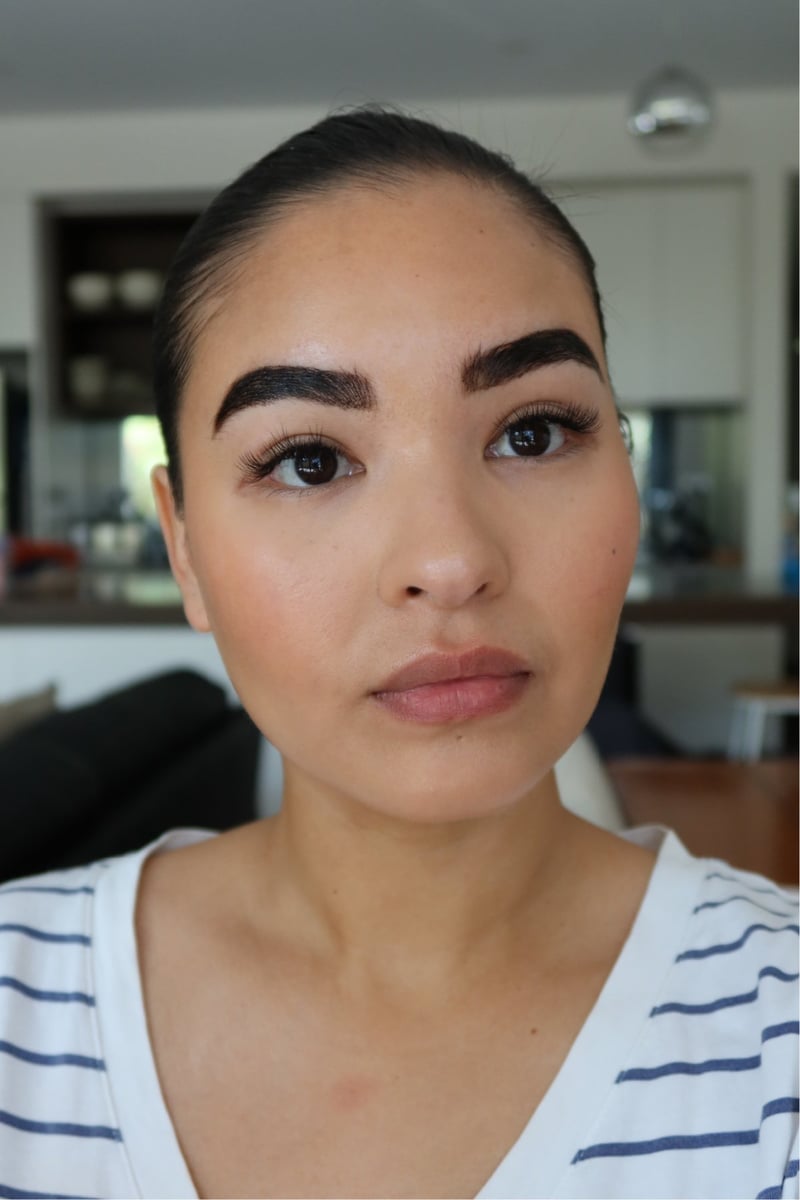
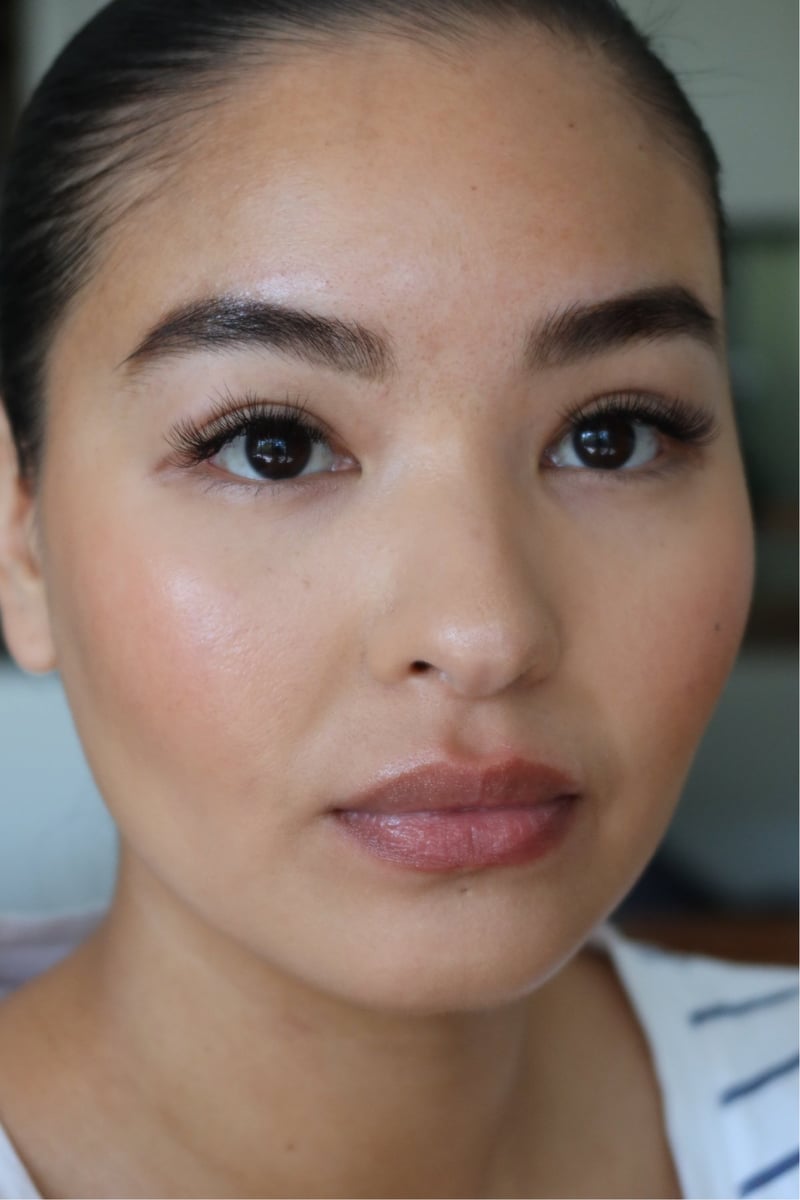
The past year I’ve been using a Maybelline peel-off gel tint but it only lasts a few days thanks to double-cleansing, so it’s definitely time to step things up with something longer lasting. So I did some Googling and deduced that henna is basically the grown-up version of my peel-off tint, lasting two to four weeks. 

ADVERTISEMENT

Enter: an at-home henna kit.

In a twist of fate, I received a package from the brand Brow Code to celebrate their launch into Mecca and inside the package was their Indus Valley Henna Kit.

Game on.

The set came with a cleanser and exfoliating cream to prep (no one likes flaky brows), five capsules of dark brown henna powder, rose water to mix with the henna, an oil for aftercare, a little mixing tub and an angled brush for application. 

The henna kit. Image: Supplied. 

ADVERTISEMENT

The instructions are pretty clear on the box, but I’m a visual learner so I need to see someone doing it before I feel confident enough on my own. A quick YouTube search brought up the brand’s instructional video, so I watched it a couple of times to really make sure I got the process down pat. 

I popped the henna capsule open into the tub with 20 drops of rose water. The video suggested 15 drops, the instructions on the box said 25... so I went with 20. I definitely didn’t want them too dark, but not so light I felt the need to use makeup. I gave it a stir and let it develop while I cleansed and exfoliated my brows. 

The capsules. Image: Supplied. 

ADVERTISEMENT

After the henna developed into a creamy paste it was time for application. This isn’t the sort of product you slap on haphazardly. It’s not like when you (me) paint your nails and half your hand then just clean it up at the end and no one knows. This is a dye that goes on in layers, so you need to be at least decent at filling in your brows or you could end up with colour where you don’t want it.

Basically, anywhere on your face that your brows aren’t.

My brows before. Image: Supplied. 

ADVERTISEMENT

I followed my brow shape exactly, making sure to apply an even layer of the paste. I had micellar water and a cotton round handy in case my hand went rogue. 

After the first layer goes on, you wait 15 minutes then go in with a second layer concentrating more on the areas where you want definition - for me that’s the front and tail where the hairs are more sparse.

My brows during. Image: Supplied. 

ADVERTISEMENT

After another 15 minutes, the henna dries and turns matte signalling its time to remove it. And that’s pretty much it, pop on some of the oil for nourishment and you’re good to go.

The result: I love it! The colour is a perfect match, it’s a liiiiiittle darker than I wanted but I know that will fade so its not a huge deal. 

Now that I know the process, it's definitely something I’ll continue to do. So I guess the real test is how long it will last. 

My brows after. Image: Supplied. 

ADVERTISEMENT

They say two to four weeks but I cleanse morning and night (double-cleanse at night). It’s been four days now and it's still on so I’m pretty happy!

If you want subtle colour and know how to fill in your brows, then at-home henna might be for you.

See more from Amelia on her Instagram.

Feature image: Supplied.

Check out more stories from the You Beauty Collective, where our beauty community talks all things skincare, makeup and more.